The homepage to liquidninja.com has barely changed since I put it up about 8 years ago (I’m not so good at remembering dates so I looked it up via the handy internet archive). Well the site now sports a brand new look and this post will go over a few of the details on how I did it.
This first screencap is how my homepage looked for so many years (in internet time it’s like 50!). I’ve always been quite fond of this minimal (albeit pretty useless) page.

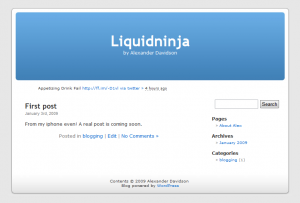
After installing WordPress onto the homepage earlier this month it looked like screenshot number two. Notice that I tinkered to get my latest tweet onto it via a handy wordpress plugin. This was an idea I borrowed from Howard Lindzon, one of the funniest, and thus the only stock market writer I consistently read.
(Update: The twitter plugin for wordpress was having problems due to API limits and page caching so I changed the theme to use twitter’s standard javascript option.)

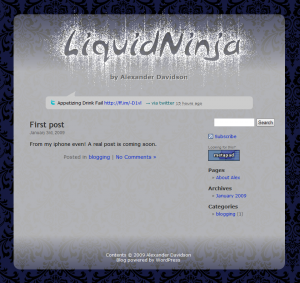
Although I think the default theme in WordPress, called Kubrick, is nice it’s definitely not my personal style. So I spent some of my spare time over the past couple weeks designing my own theme which is now live on the site (screencap 3).

Ahh… much better. I call this theme FrostNinja.
So how did I put this theme together? Since I didn’t want to spend too much time on this project I didn’t bother digging into the wordpress codex. Instead I started by taking Kubrick and copying the theme directory (called default) to use as a template for my new theme. Then I went through all the files to get a sense of their purpose (wordpress uses PHP so some basic programmer’s understanding of it helped with this part). Then I tweaked or culled as necessary.
At work, I get to use fancy Adobe products to generate image assets but since this is a personal project I decided to go the free route. All graphics for the theme were created using two free, open source software packages. This decision was made to both save cash and to learn how capable the free alternatives are these days.
The twitter bubble and the rounded rectangles for the header and footer were all drawn using InkScape. (Think Illustrator but free.) InkScape is a vector graphics program and I was very impressed with its capabilities and user interface. It has nice spline editing, a powerful (although not super easy to use) gradient editor and overall very nice set of tools. I look forward to playing with this app again.
The site logo, background (which is my remix of factoryjoe’s filigree) and other images were done with the GIMP. (The poor/smart man’s Photoshop). It’s been a while since I fired up the GIMP and it seems to have come quite a way. I toyed with it on both OS X and Vista and my only complaint was how it deals with multiple tool windows; I was really hoping that the OS X version would at least have a single menu bar. But the software is extremely capable so I can’t complain too much.
To test it all the right way I would probably recommend installing WordPress and mysql locally. But I wanted another shortcut so I hacked together some canned HTML versions of key pages of my site using the new theme. After completing the design, I then used FTP to get the template directory up and then ironed out a few last glitches using the preview theme feature in WP (rather than pushing live too early).
Et voila!
